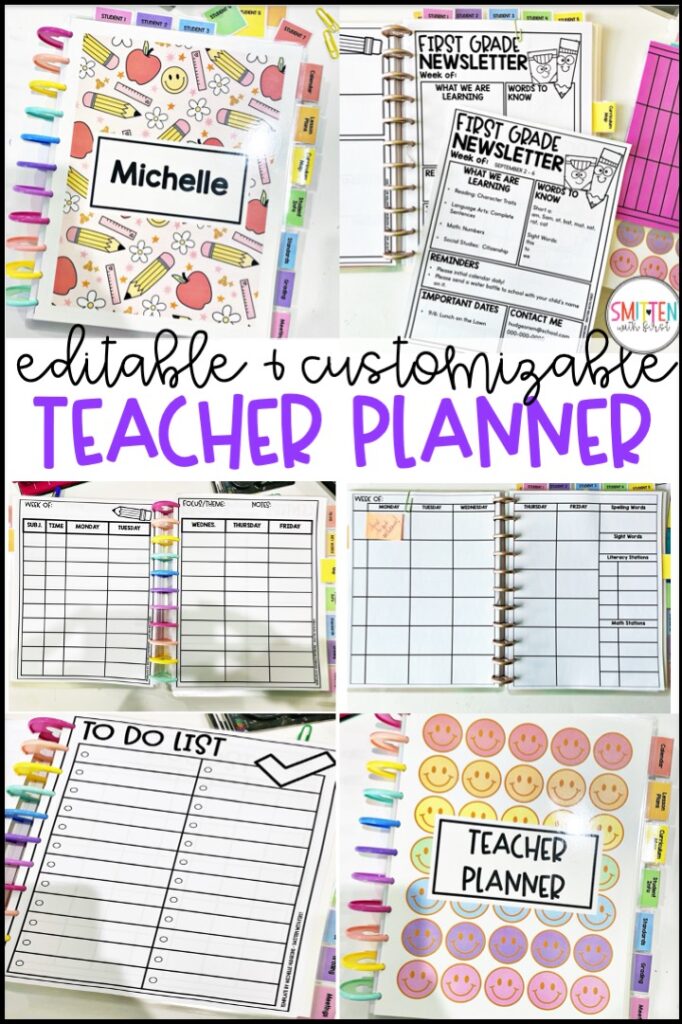
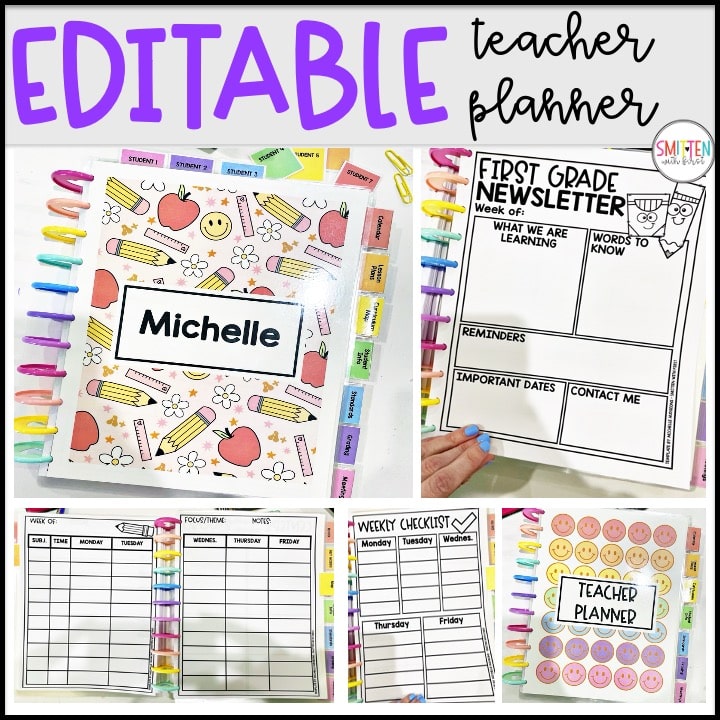
Organizing lesson plans, small groups, student information, monthly calendar, meetings, to do lists, newsletters, field trip, planning and more can be overwhelming to say the least. This Editable Teacher Planner is a one and done planner/binder to keep everything all in one place. You can completely customize it to fit the needs of you and your classroom!
*Post contains affiliate links* I earn a small commission when you use the affiliate links.
Download the FREE First Day Lesson Plans & Templates HERE!
Get the Editable Planner HERE!
Editable Teacher Planner
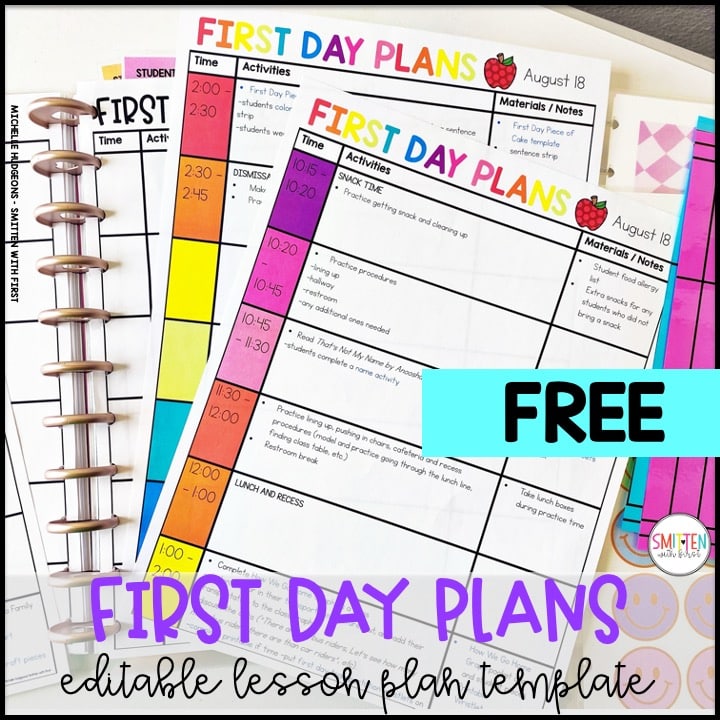
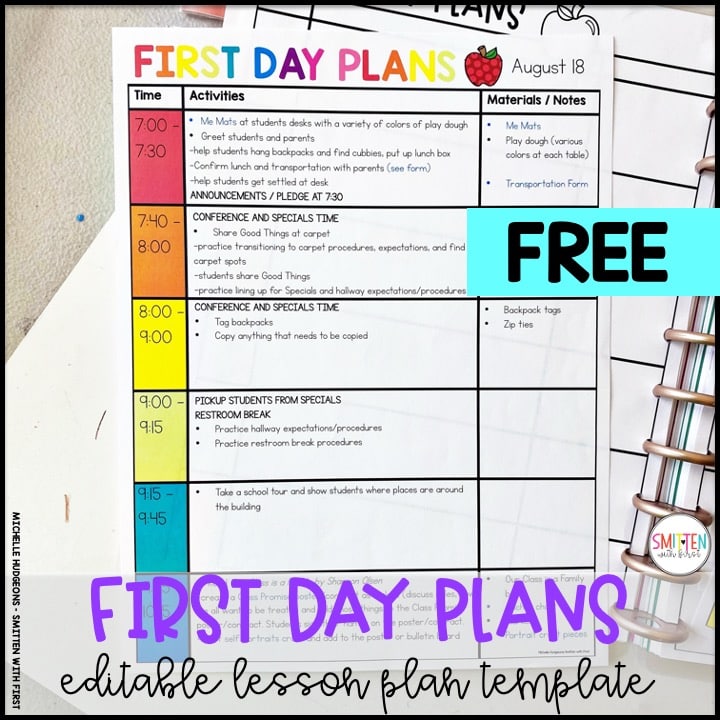
First Day Plans– this is a pre-made sample of what a first day of school lesson plans might include. You can use the plans provided or edit the template to add your own plans. Print and add the plans to your Editable Teacher Planner. Get all the first day of school activities here!
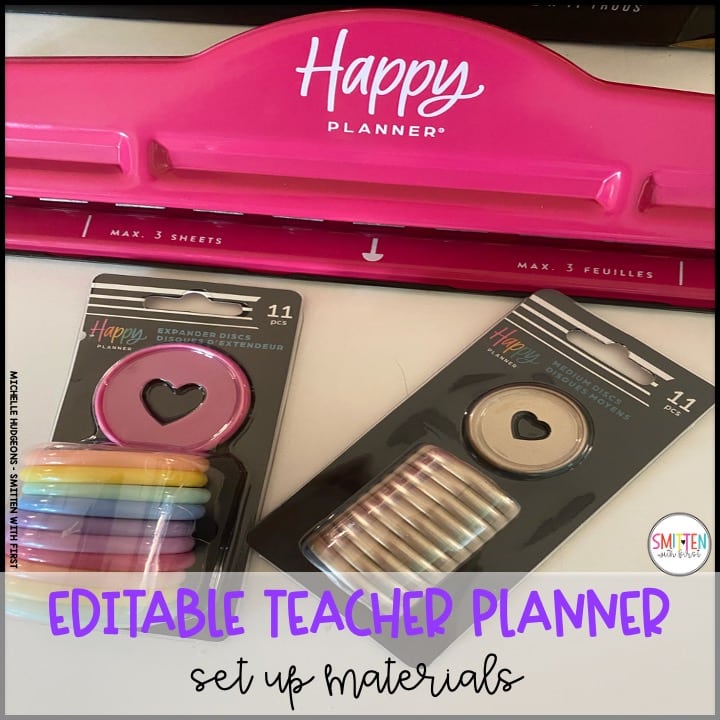
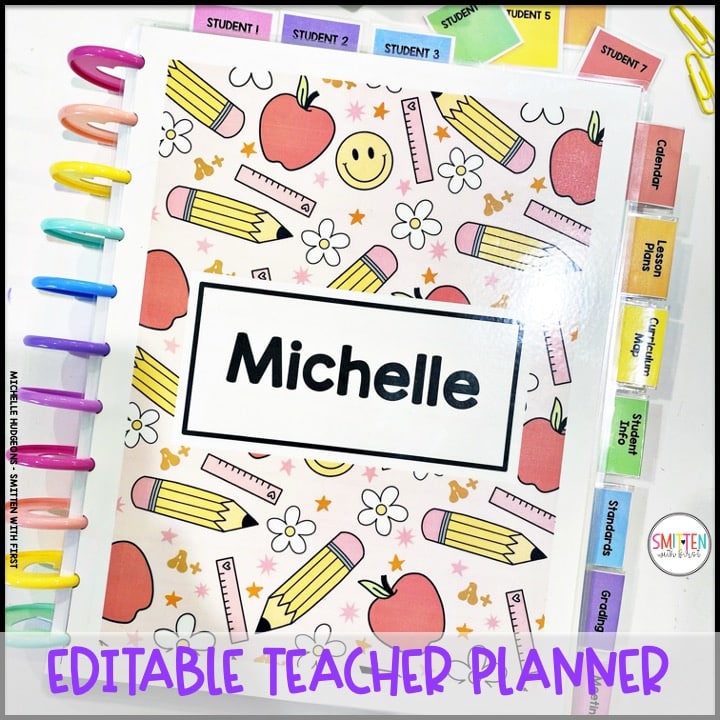
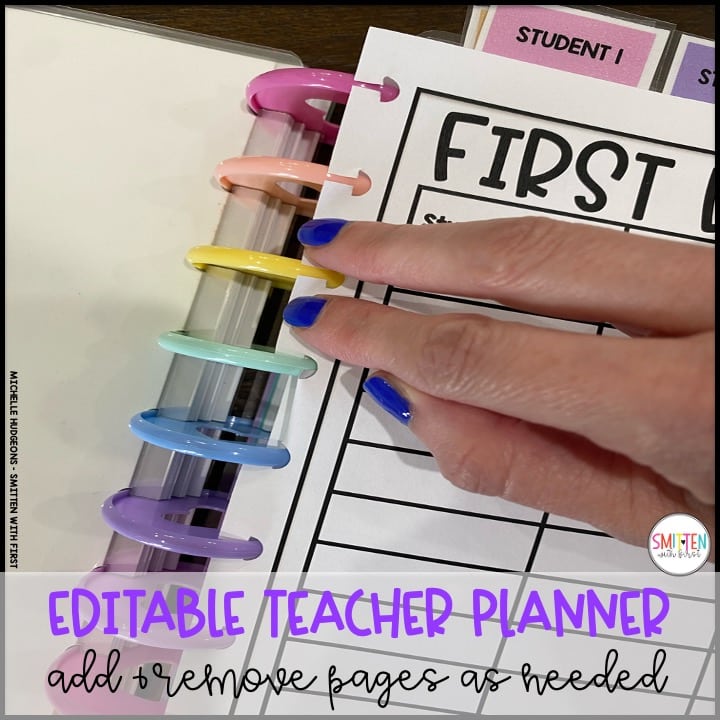
What you’ll need– To set up your planner, you can use the discs system or use a standard 3 ring binder. If using the discs system like I used on the included pictures, you will need the 11 piece disc as well as the Happy Planner hole punch. You can find those here or at your local Michaels.
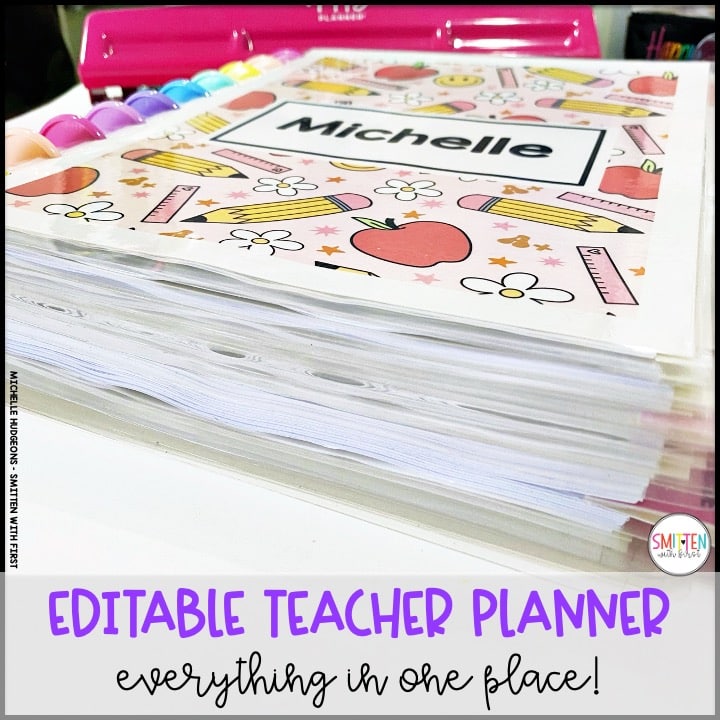
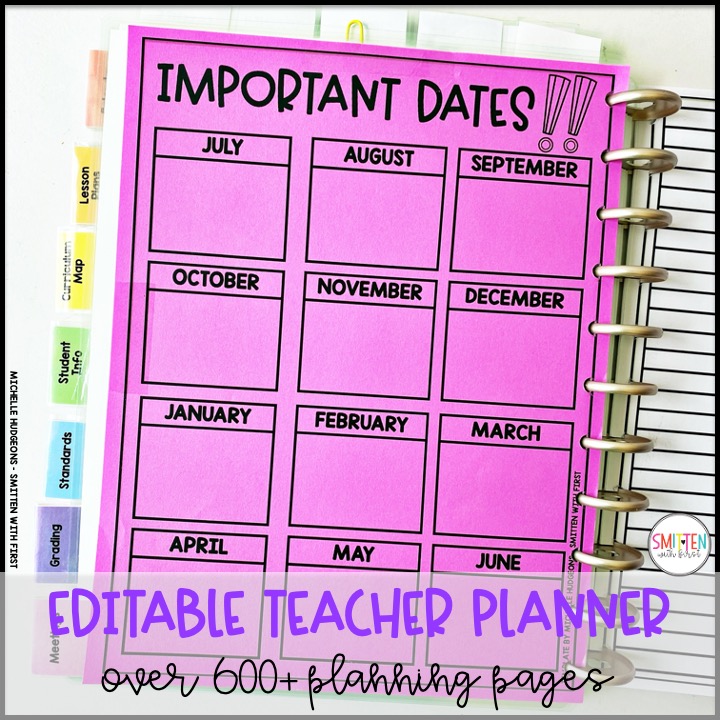
I prefer the expanded discs because they are larger and give more space availability so that you can add to your planner all year long and not worry about running out of room. Above is a picture of my personal planner and it is jam packed and I still have room to add to it if needed.
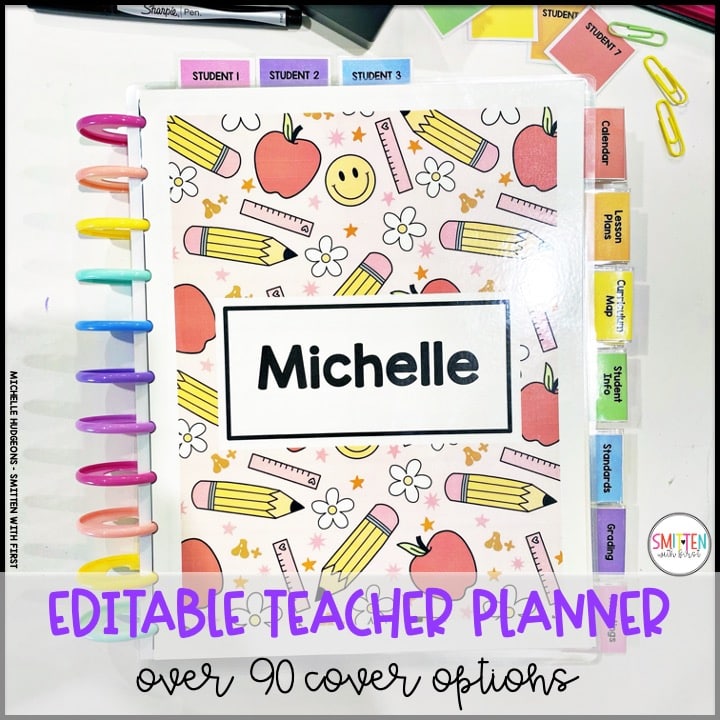
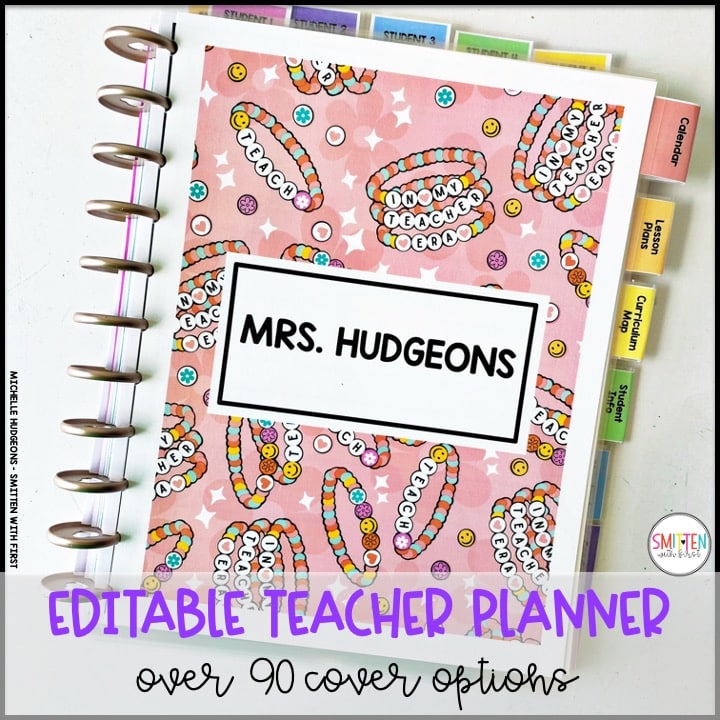
Editable Covers– There are over 90 covers to choose from within many different themes. Once you choose the cover you want, simply edit the text to say whatever you want it to say. You could do your name on the cover of your planner. You can also use the covers for the inside of your planner to make dividers. For example: lesson plans, calendar, notes, grades, etc. Print your cover/divider pages and laminate them. I recommend printing on card stock paper for extra durability. Here are some examples of covers and dividing pages.
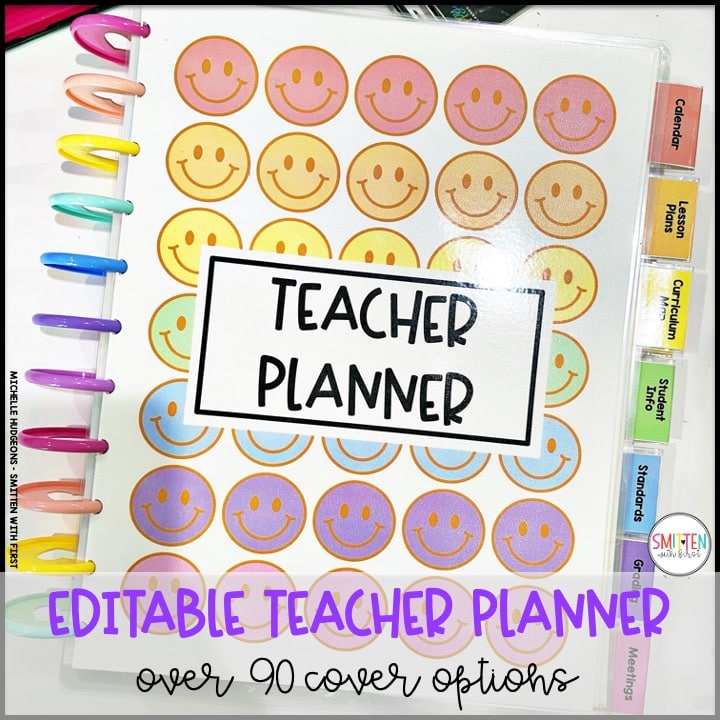
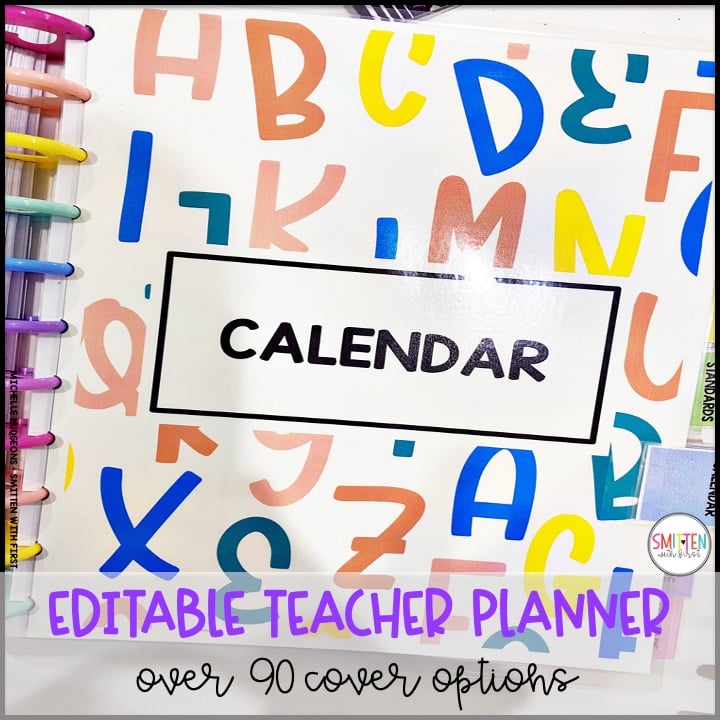
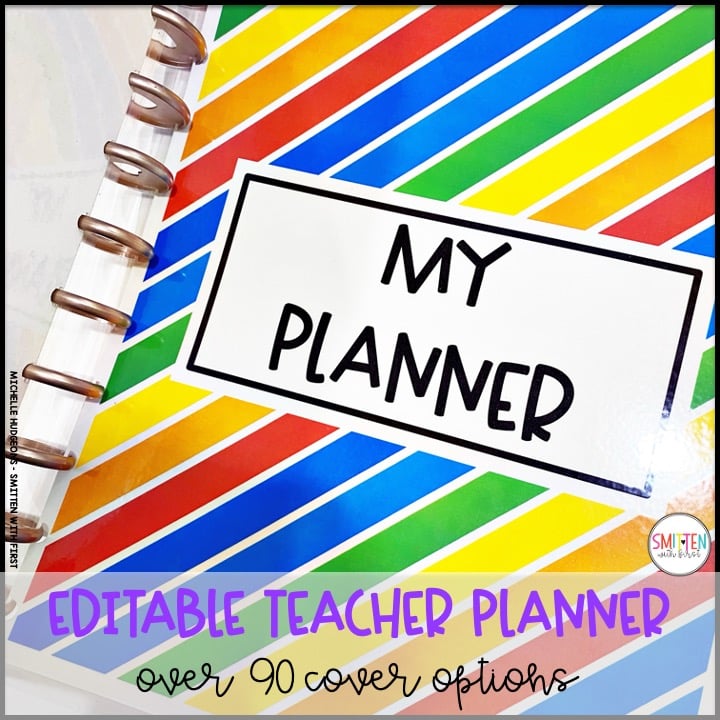
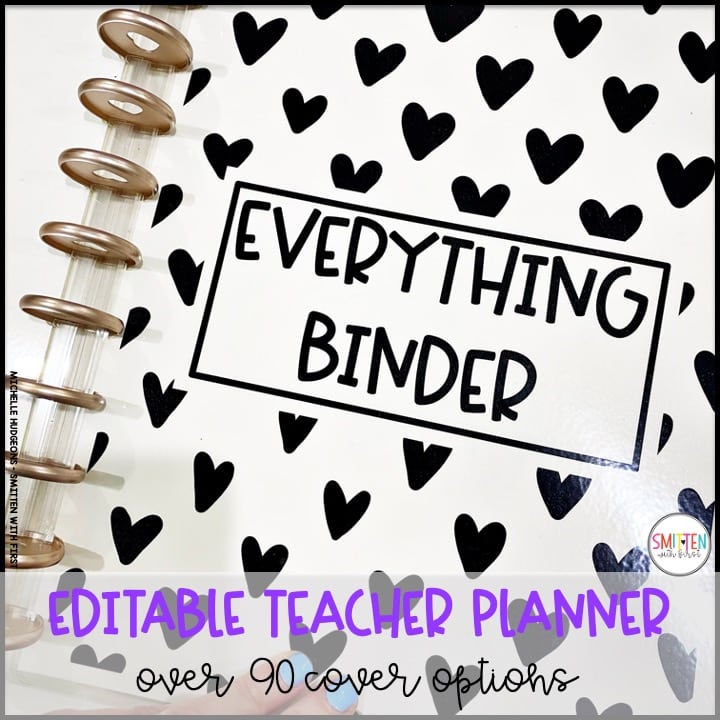
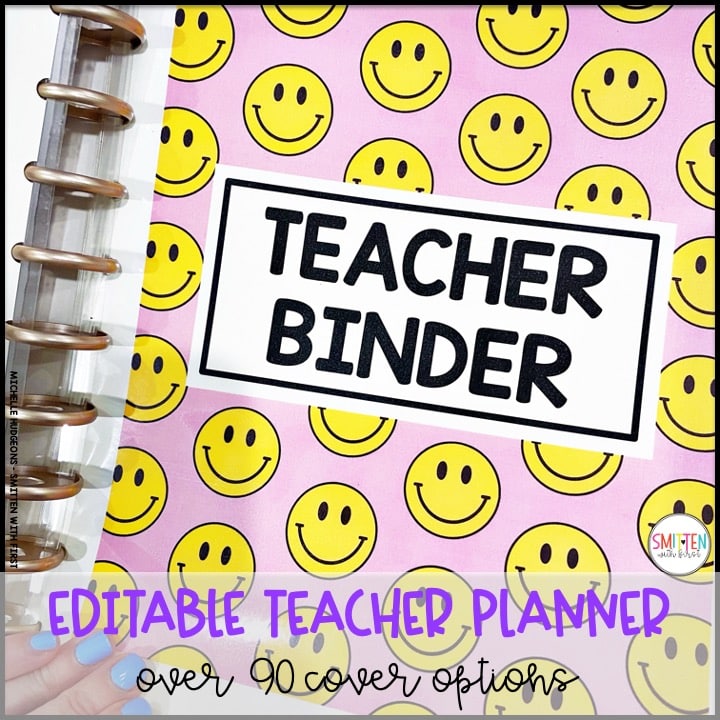
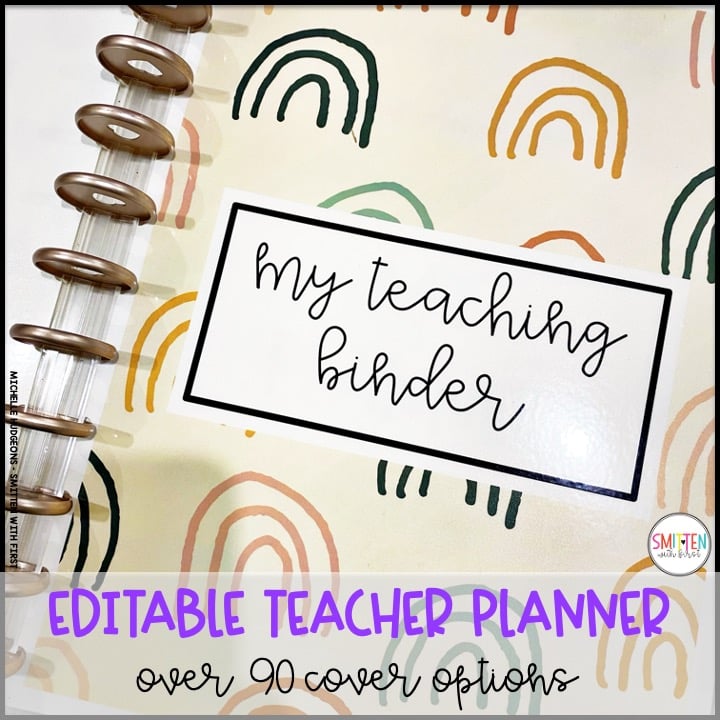
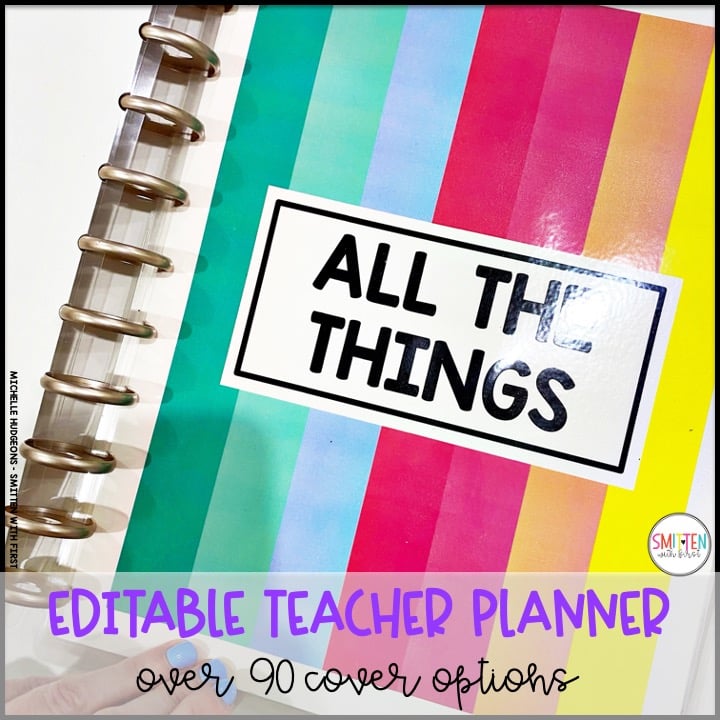
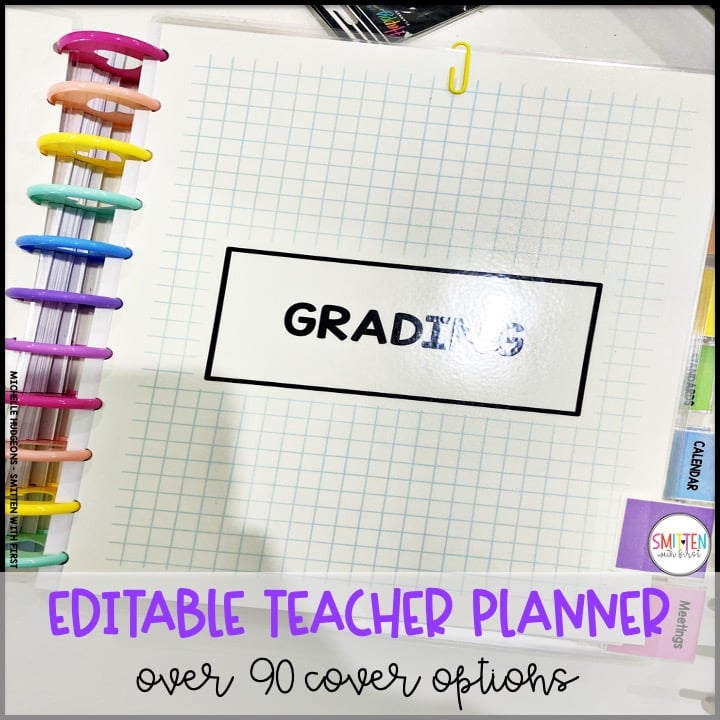
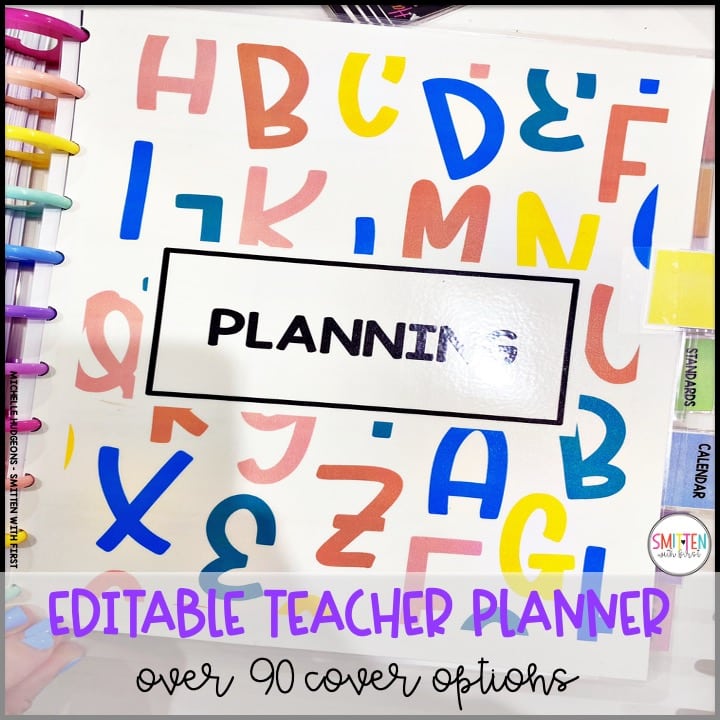
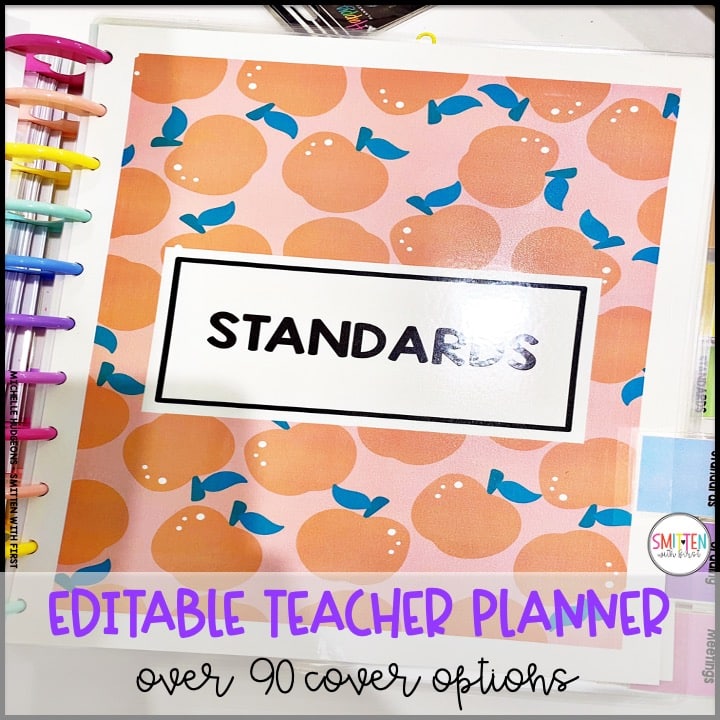
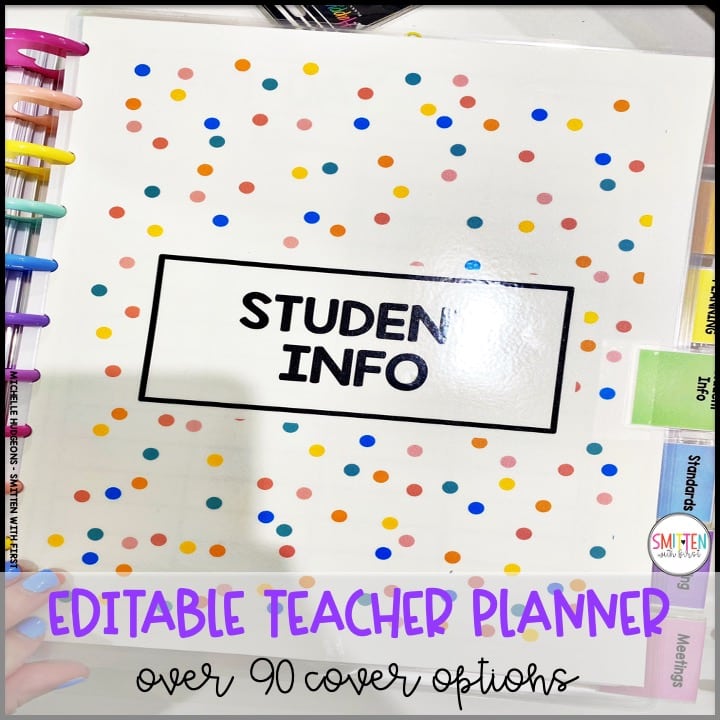
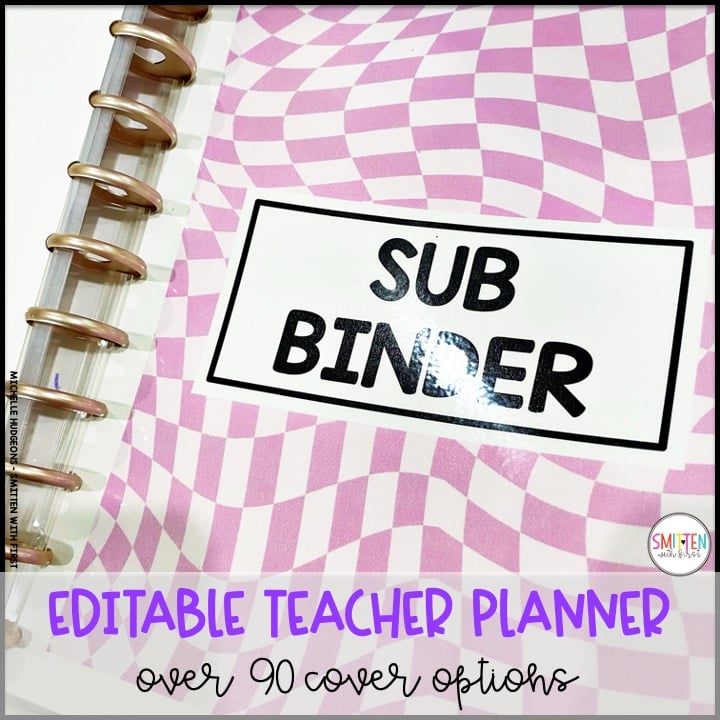
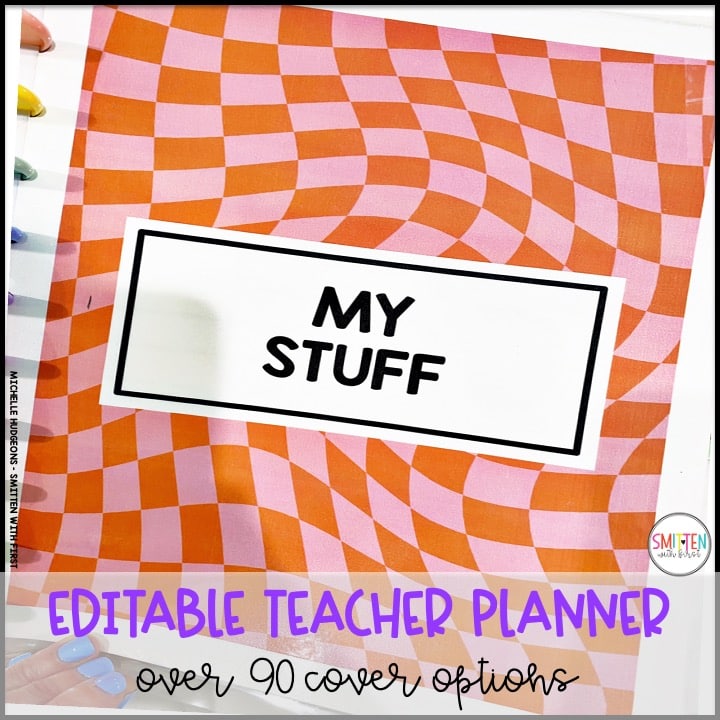
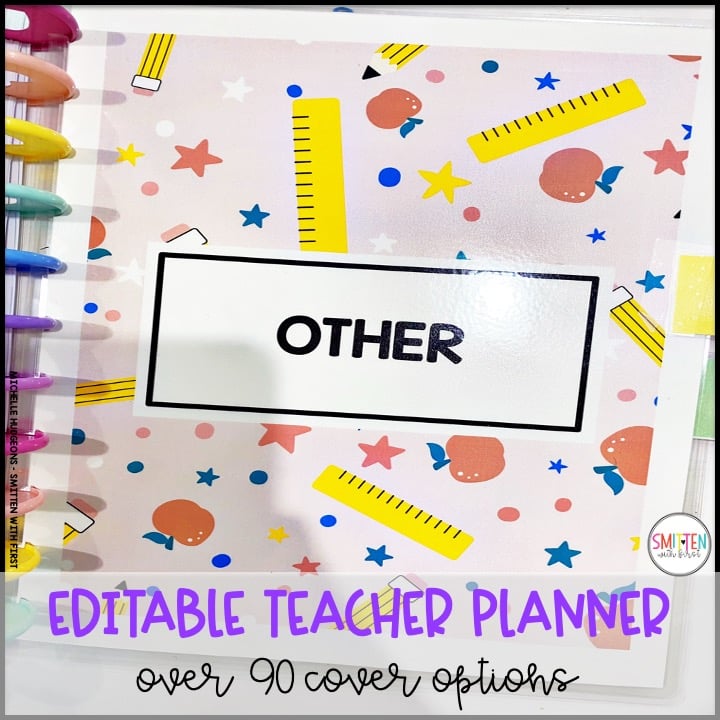
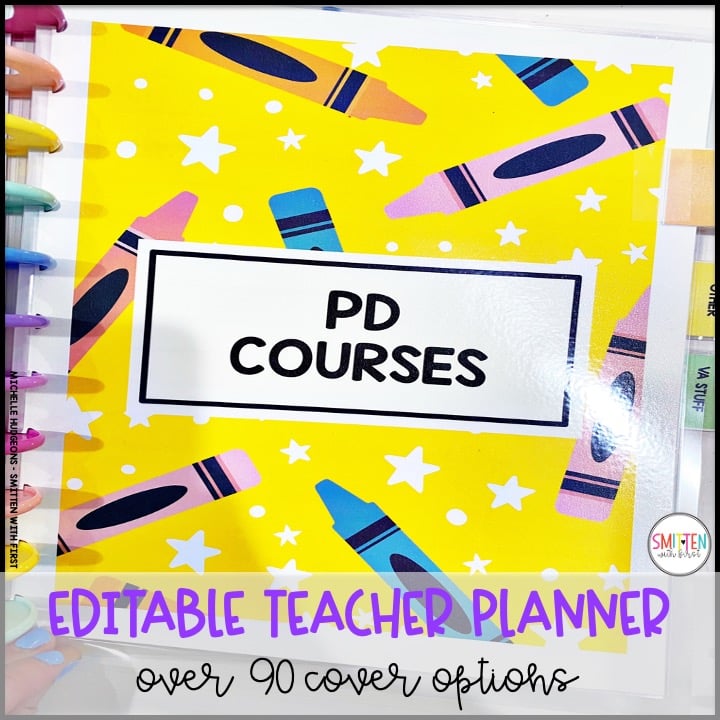
After printing the cover, print the matching back cover.
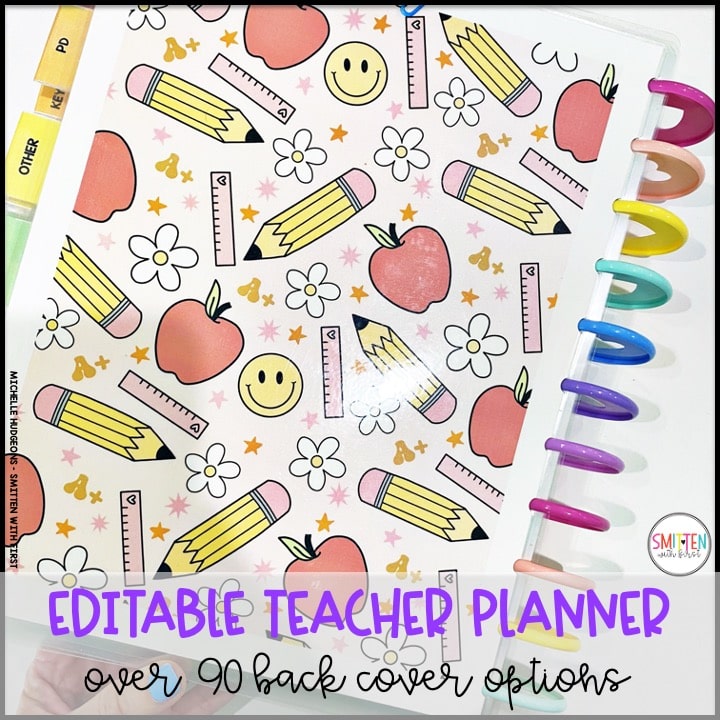
Editable Tabs– Choose from double sided or one sided tabs to add to your divider cover pages. The tabs are editable so you can add whatever text or font you would like. I recommend printing the tabs on card stock as well.
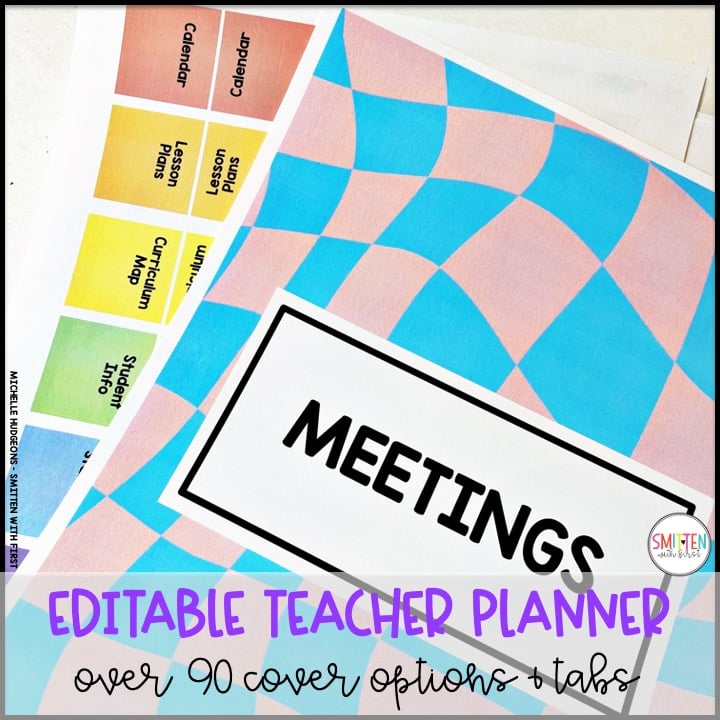
After printing, cut out the tabs individually. Glue the tabs to the laminating sheet first, then laminate. This will be the best way to prevent the lamination from peeling off the tabs when you fold them.
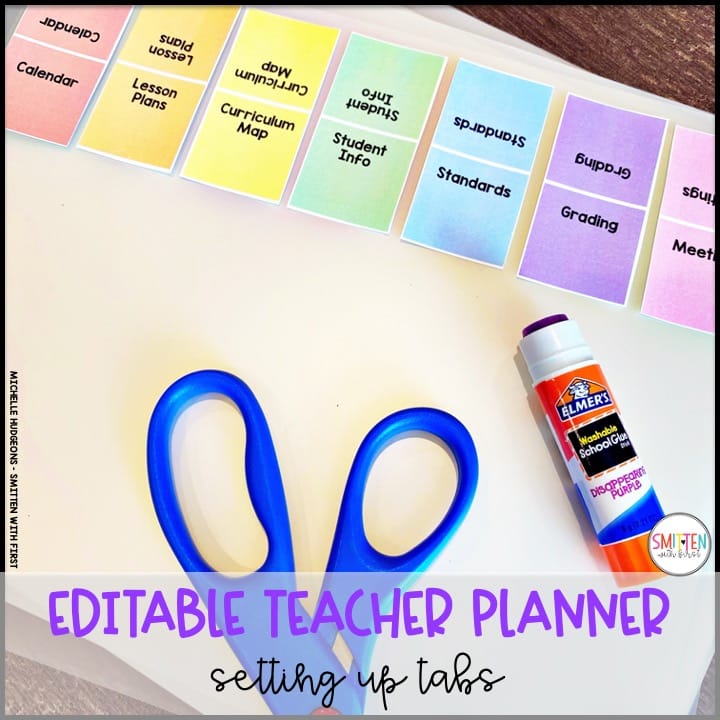
I used the double sided tabs on the divider cover pages and one sided tabs for the student tabs at the top of the planner (see below).
Fold the tabs on the line and tape the tabs onto the cover pages.
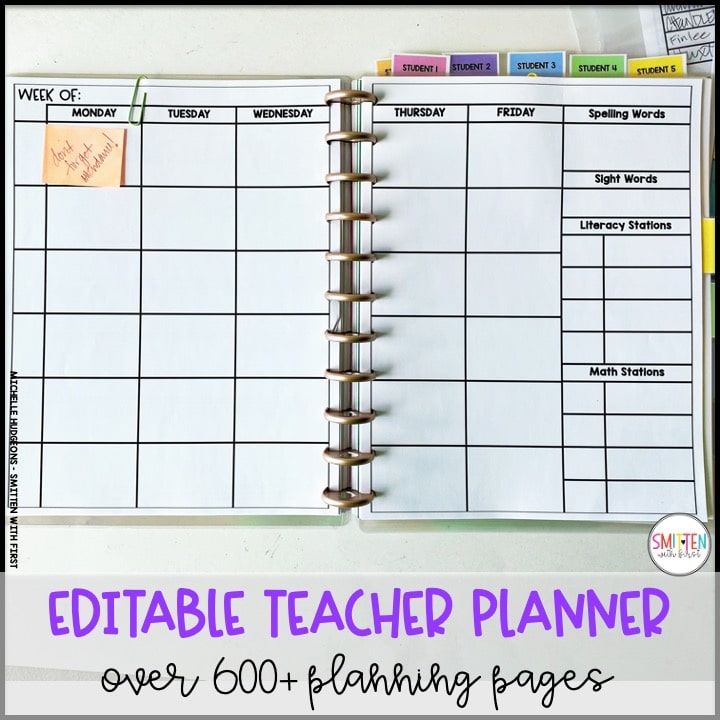
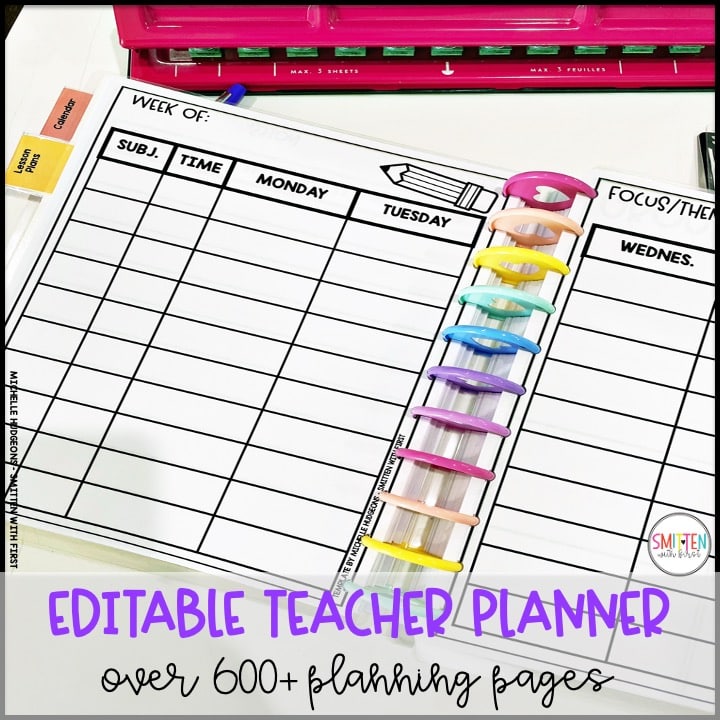
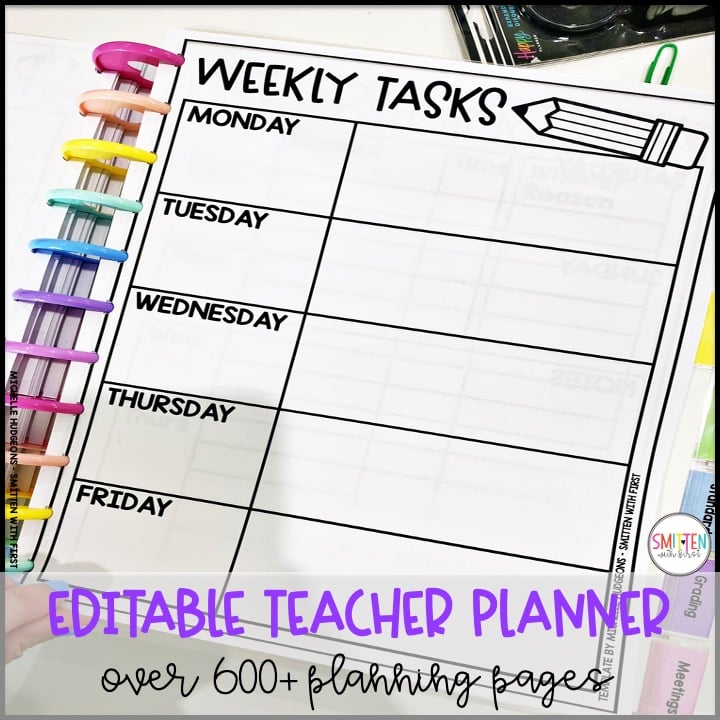
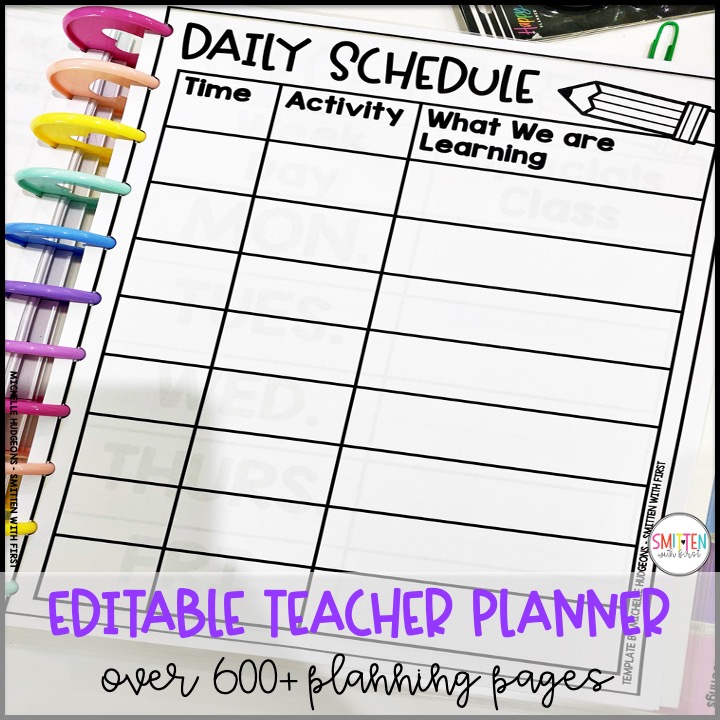
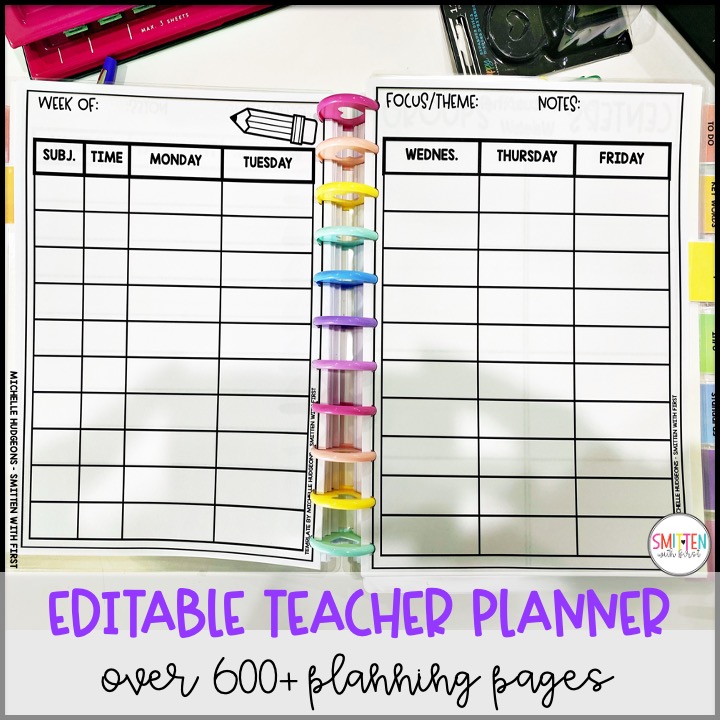
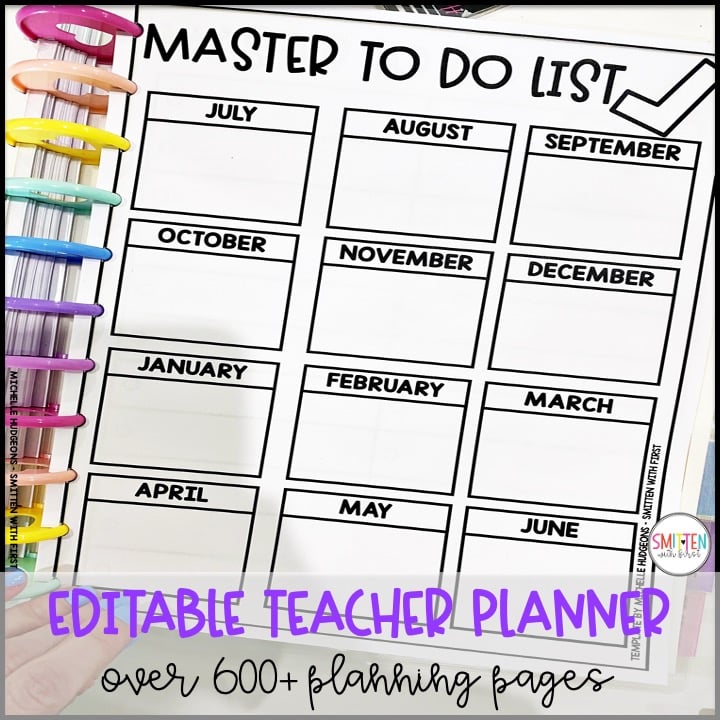
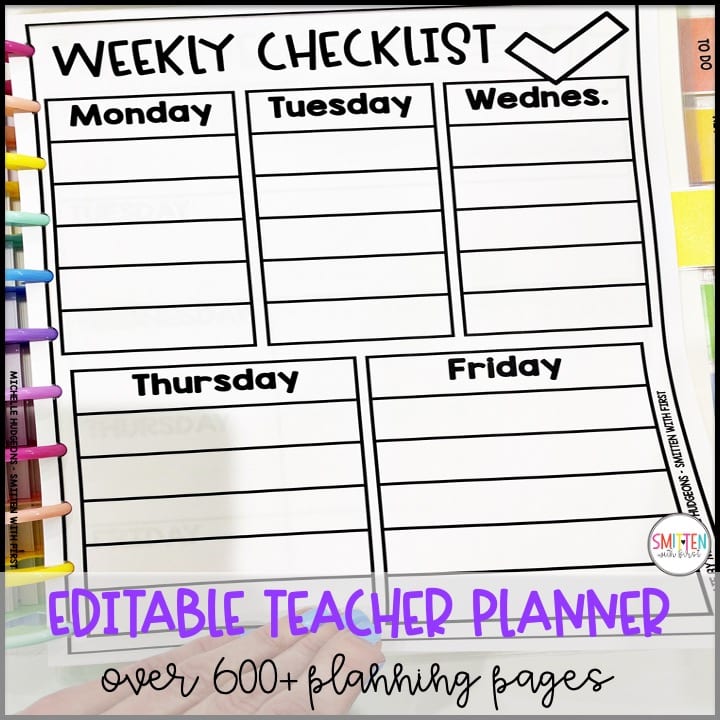
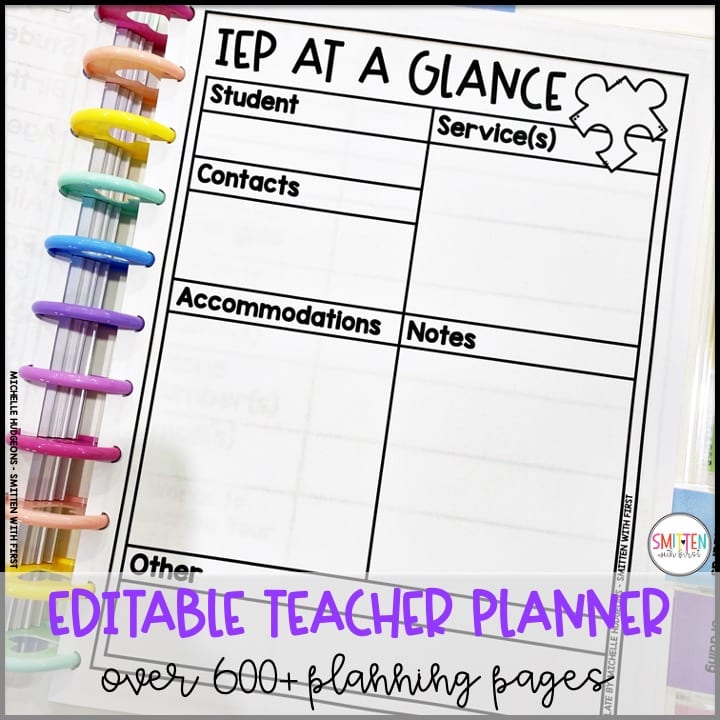
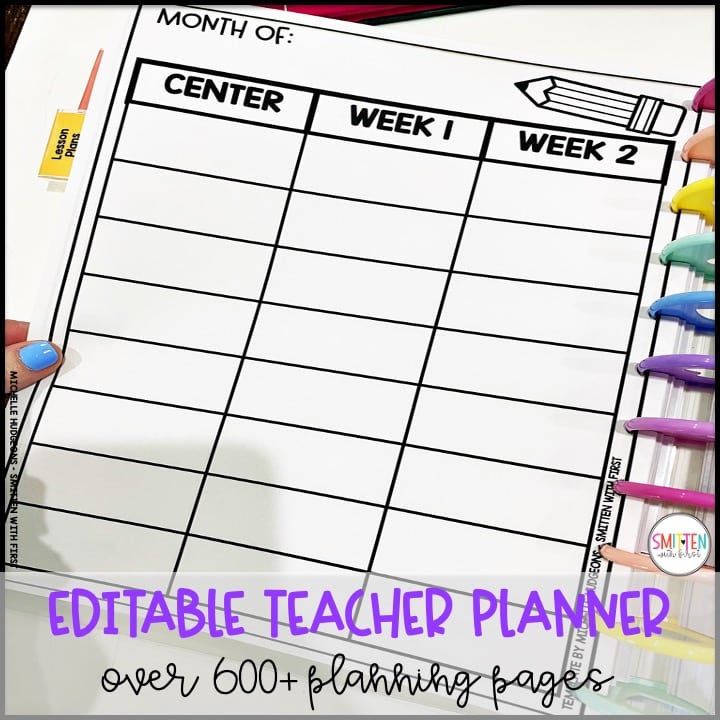
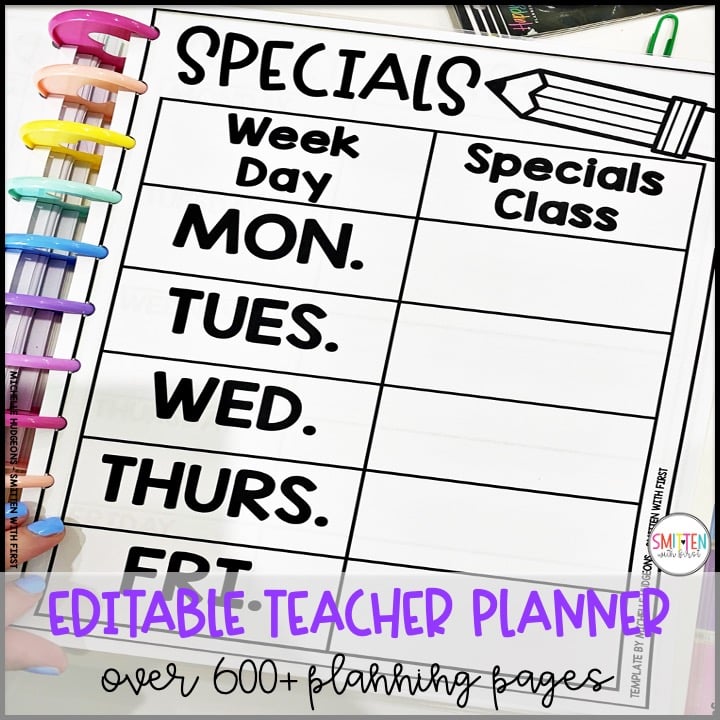
Editable Planning Pages– There are over 600+ planning pages to choose from to make your planner customized to you and your needs. These pages come with different layouts, with clip art, without clip art, with prefilled headers/titles, and blank to add your own titles.
To add the planning pages to your planner, simply print the pages you want, hole punch the pages and pop them onto the discs. What I love about this system is the pages can be taken out without worrying about tearing a page out or messing up a hole. They can be taken out and added back in over and over!
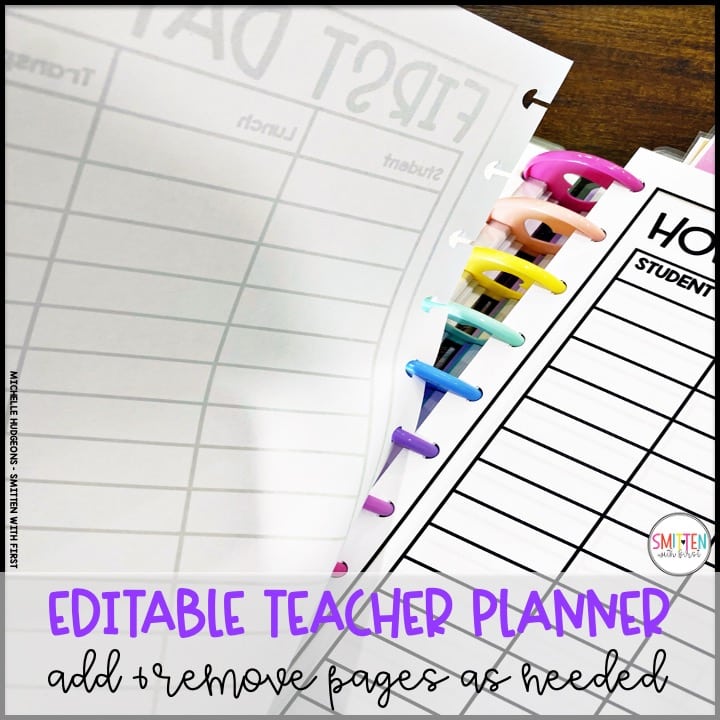
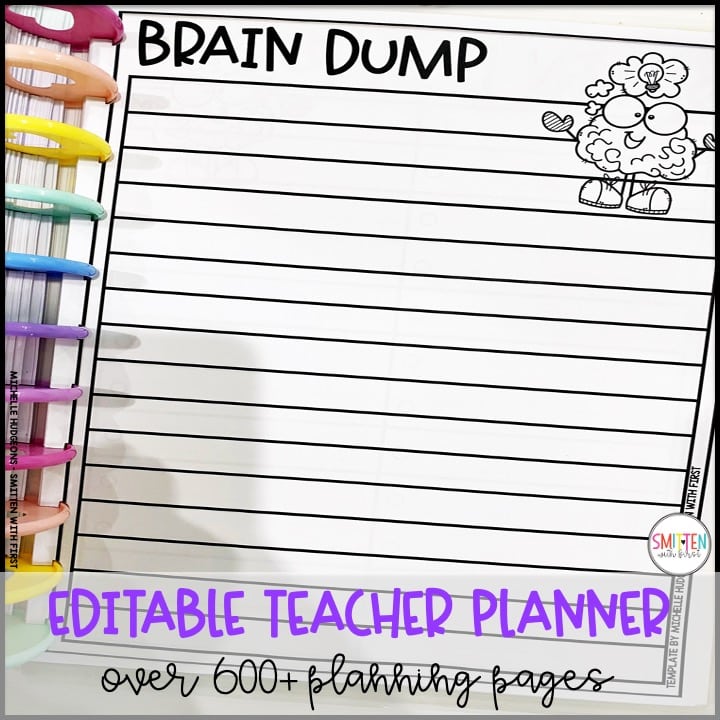
Here are several examples of planning pages, forms, newsletters, and more that are included.
Again, there are over 600+ pages!
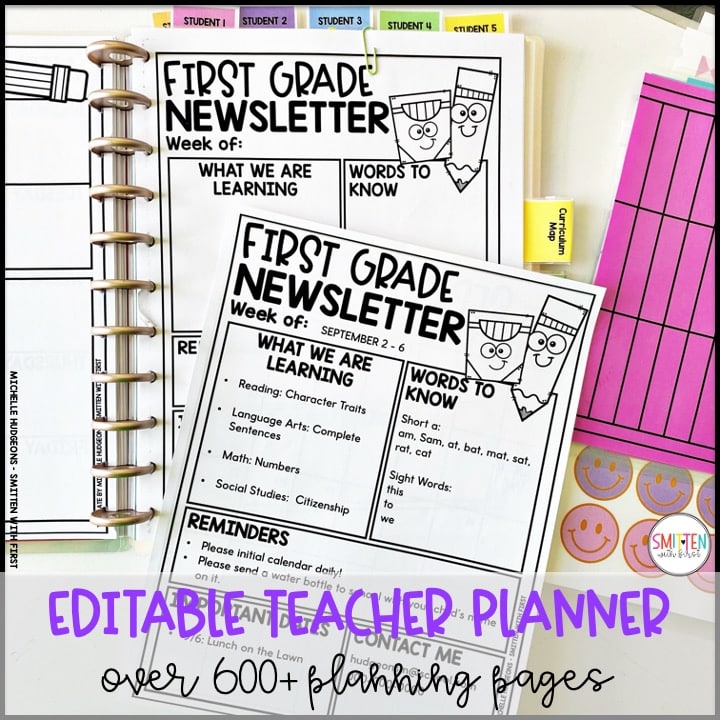
There are prefilled grade levels or you can type your own grade level and font onto the newsletters. There are so many different layout options included that you can customize! Simply open it in PowerPoint and type!
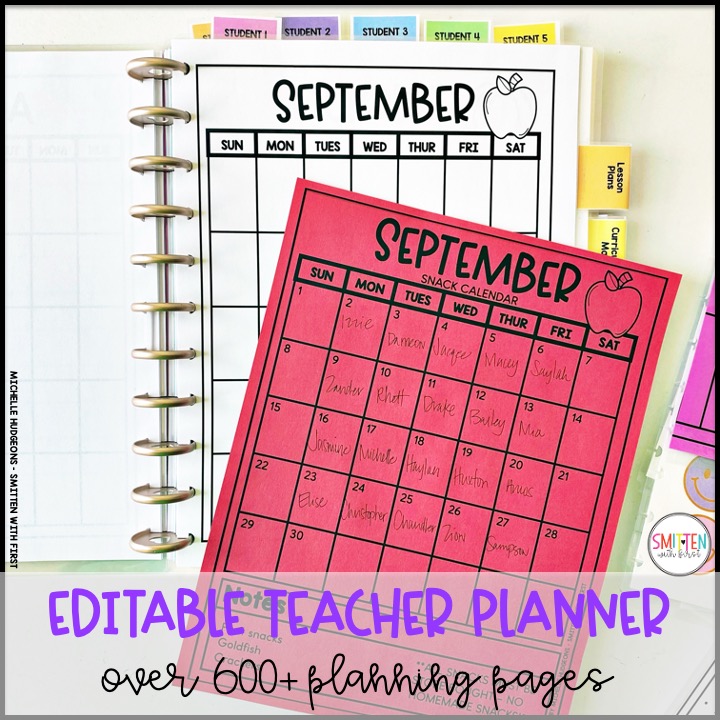
Customize the calendars for you and your classroom. I typed Snack Calendar and dates onto this one and wrote student names. Send it home with families!
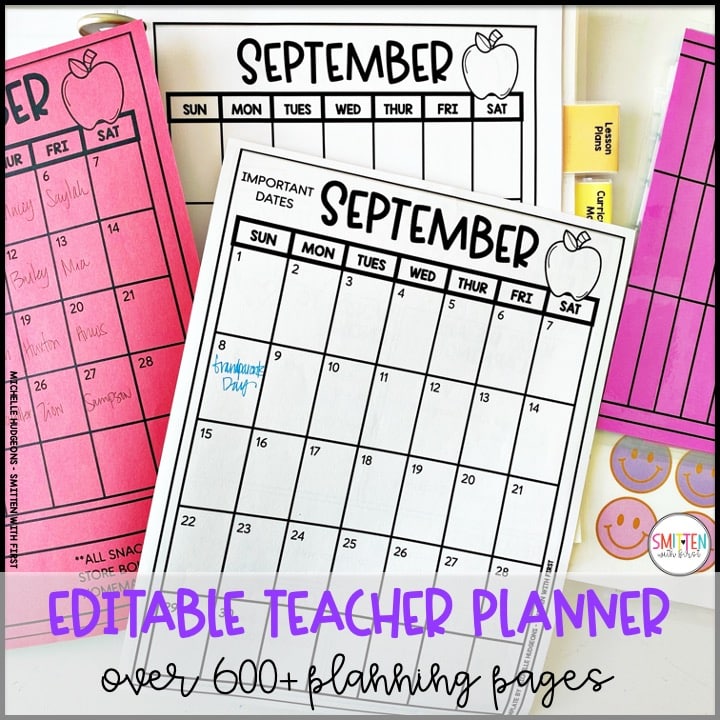
You could also make a calendar for important dates to send home with families! Another thing I love about this planner is you can use the pages for more than one thing. I am all about working smarter and not harder. Use one calendar template for all the things and just change out the title….personal dates, school dates, snack calendar etc.
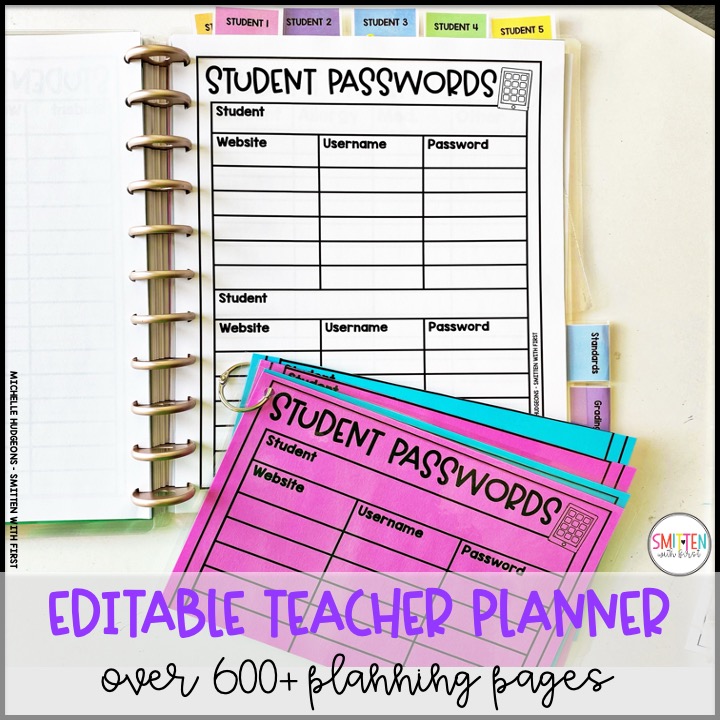
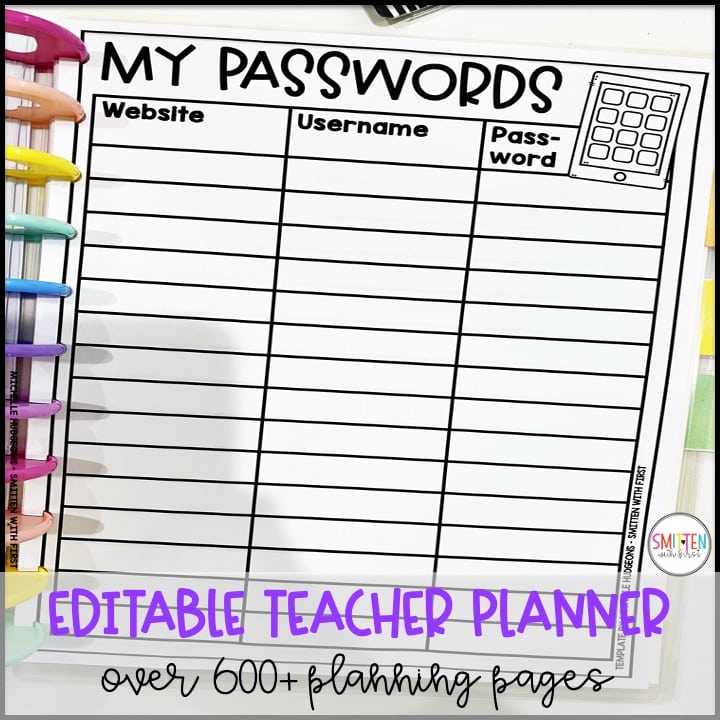
Keep all student passwords handy! After filling in the template, make a copy on fun colored paper, laminate, cut, add a ring to the top, and hang in the student media area for quick access for students! Again, we are working smarter and not harder. Use the same form for both uses!
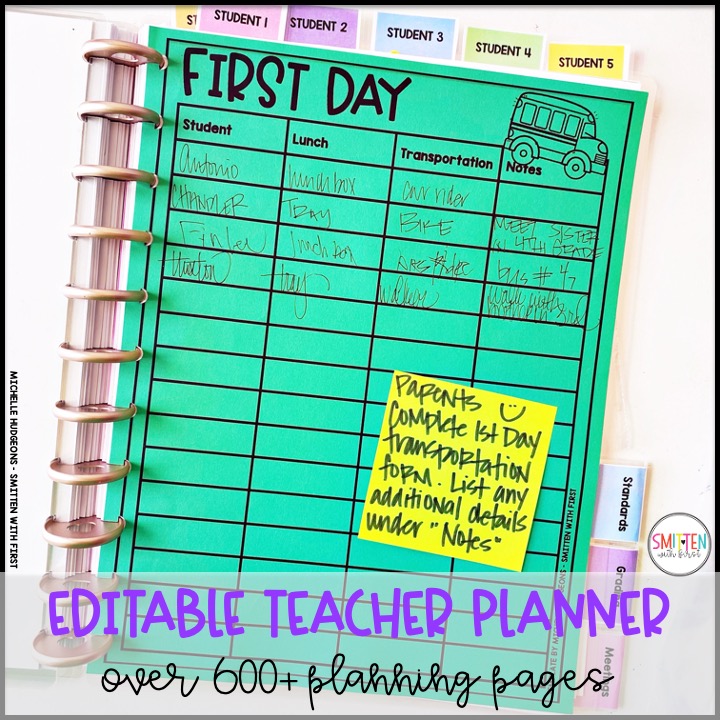
Use the First Day form at Meet the Teacher as a Sign In sheet. Parents write their child’s name, their lunch on the first day of school, transportation and any special notes. Now you are not going through a bazillion papers, creating a new spreadsheet, etc! It is all right here in your planner. Simply hole punch the form, put it in your planner, and you are ready for first day dismissal.
Here are a few more examples of planning pages that are included!
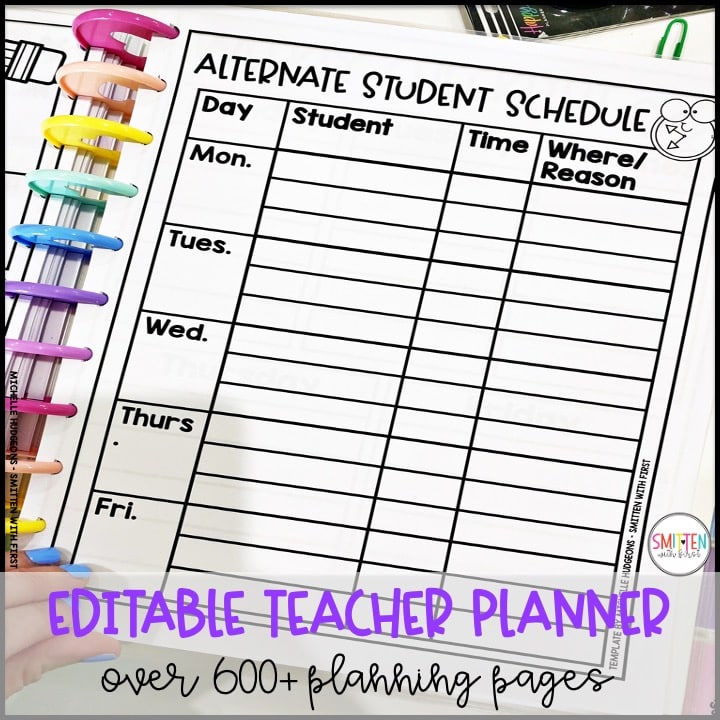
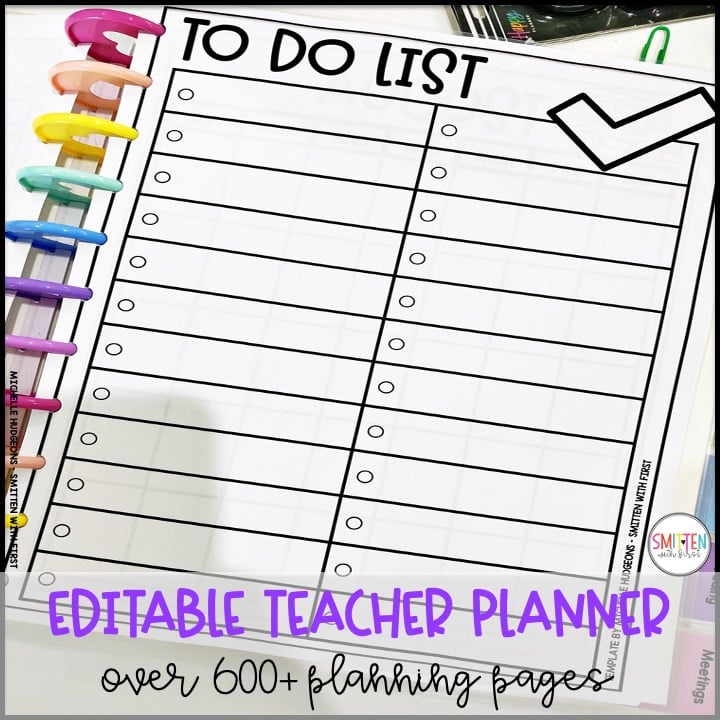
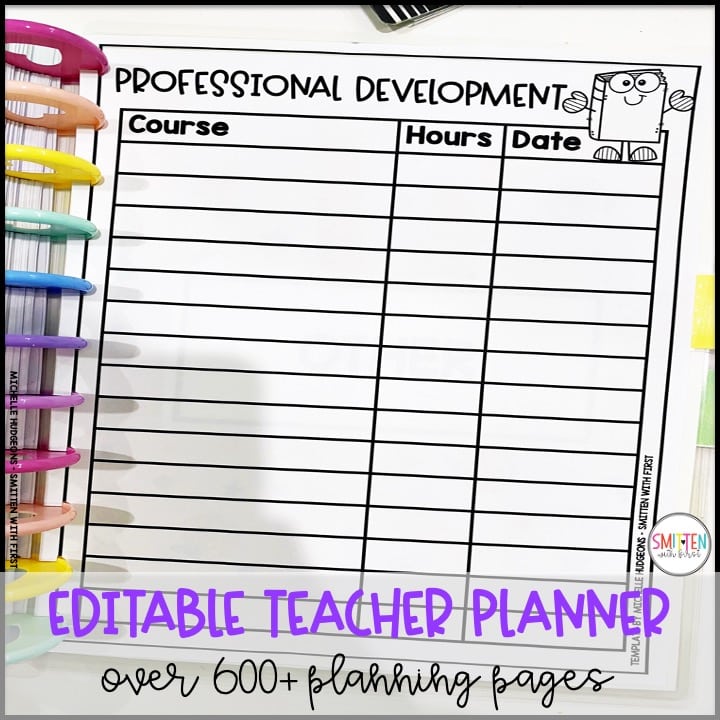
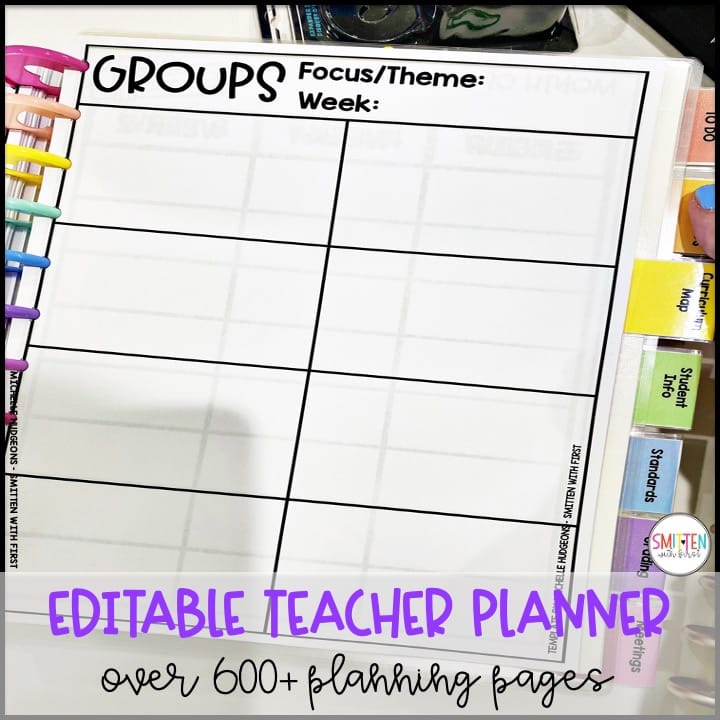
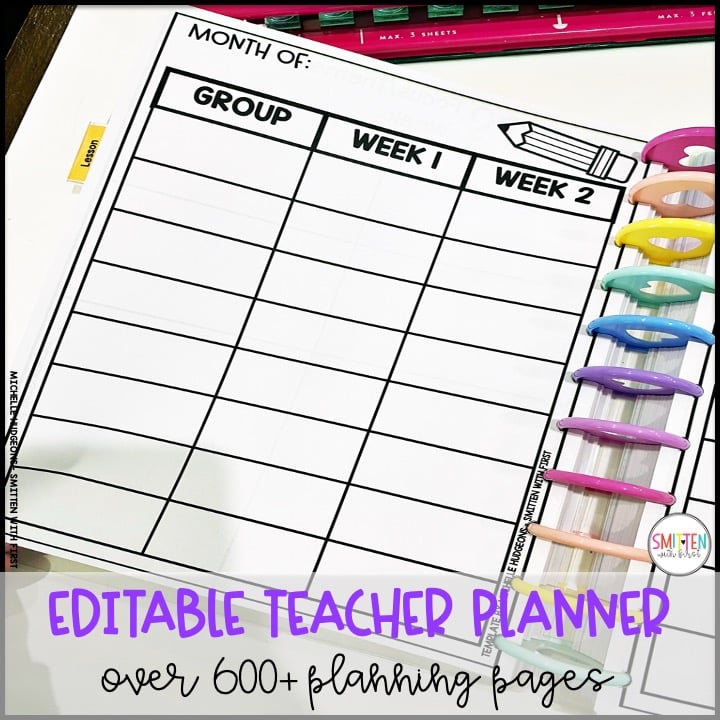
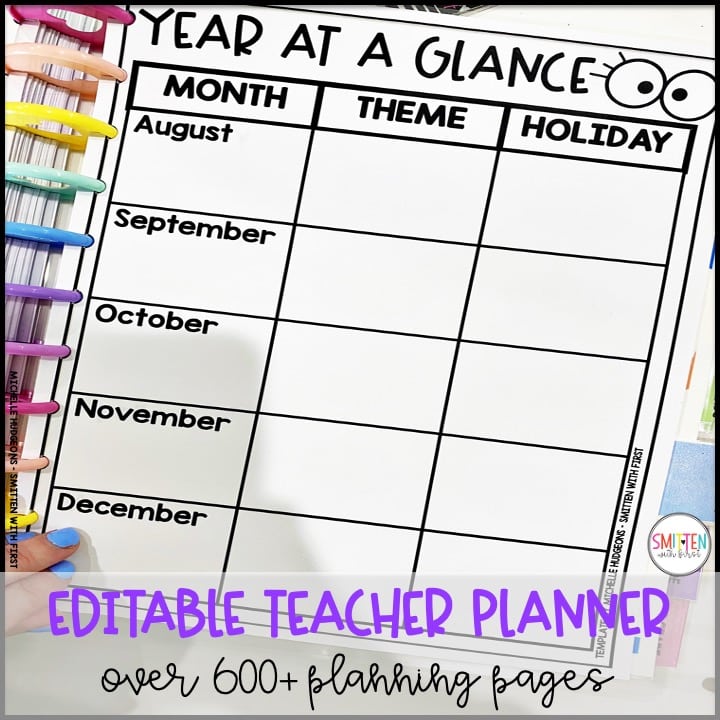
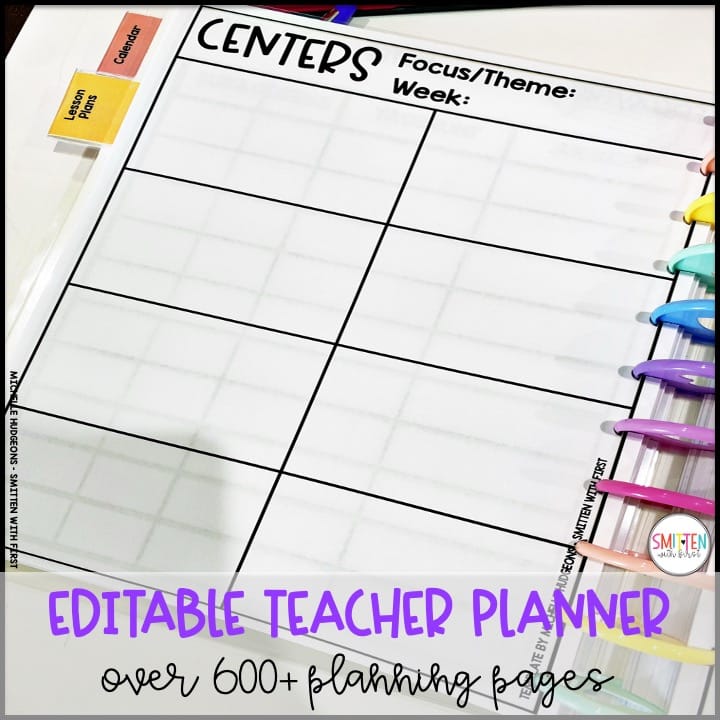
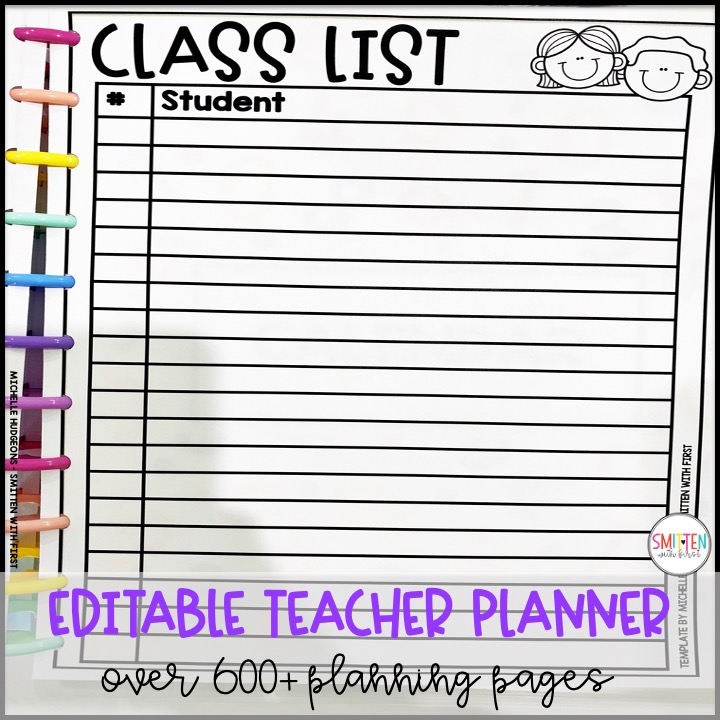
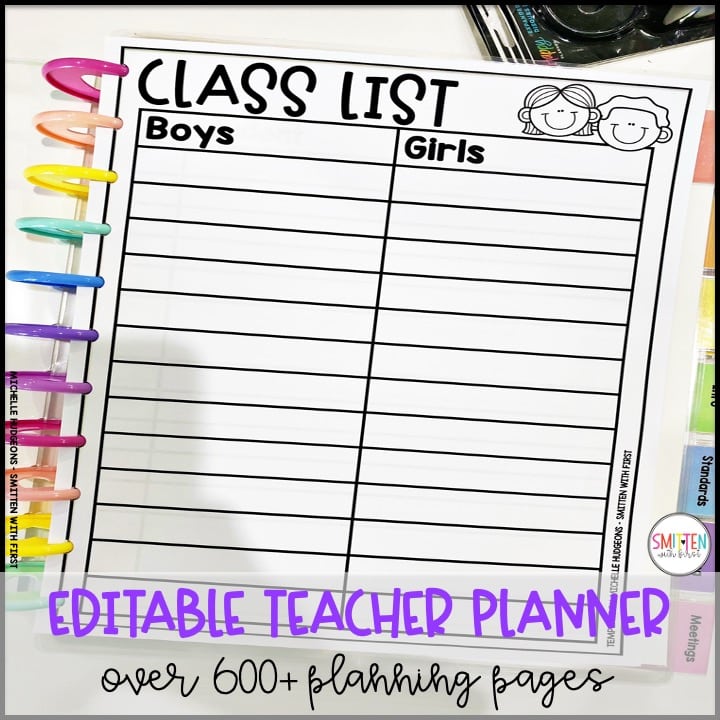
Use this same class list form for your Sub Binder or student name list for parents for Valentines Day class gifts!
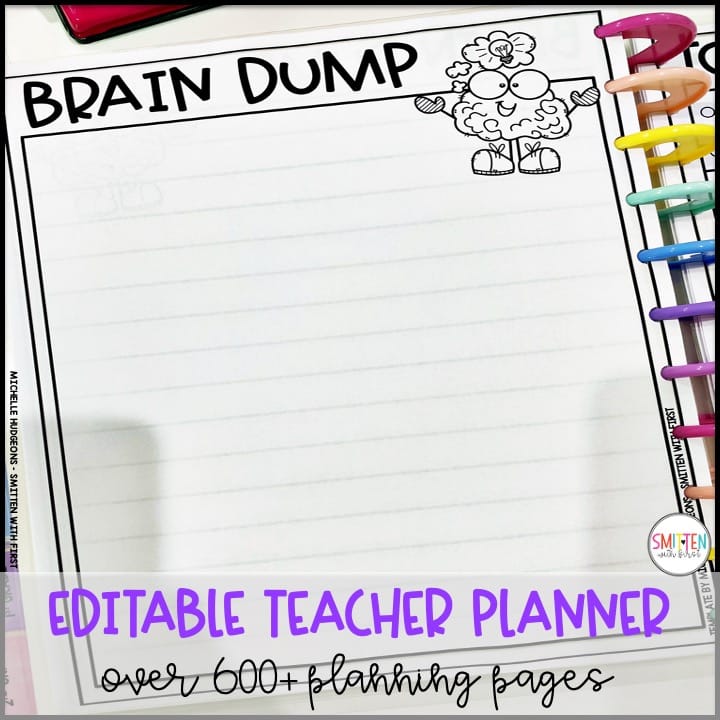
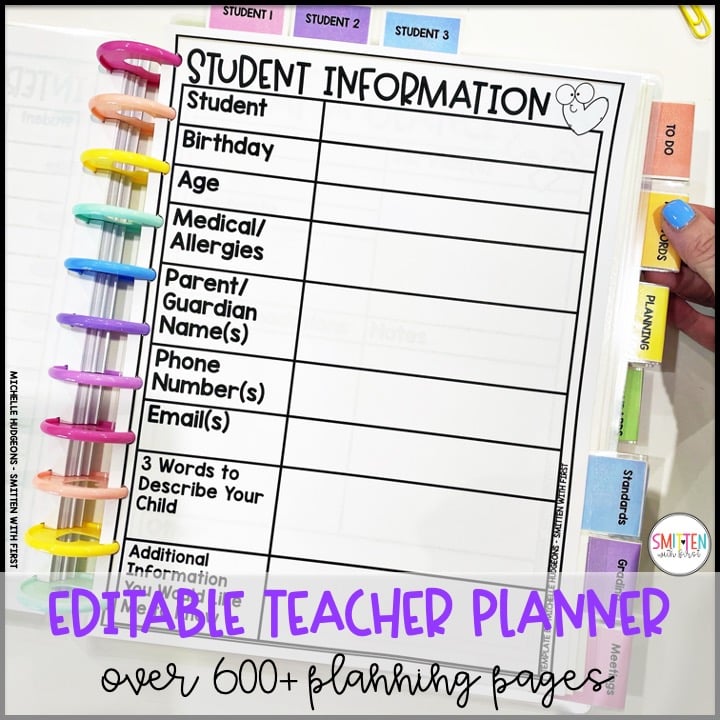
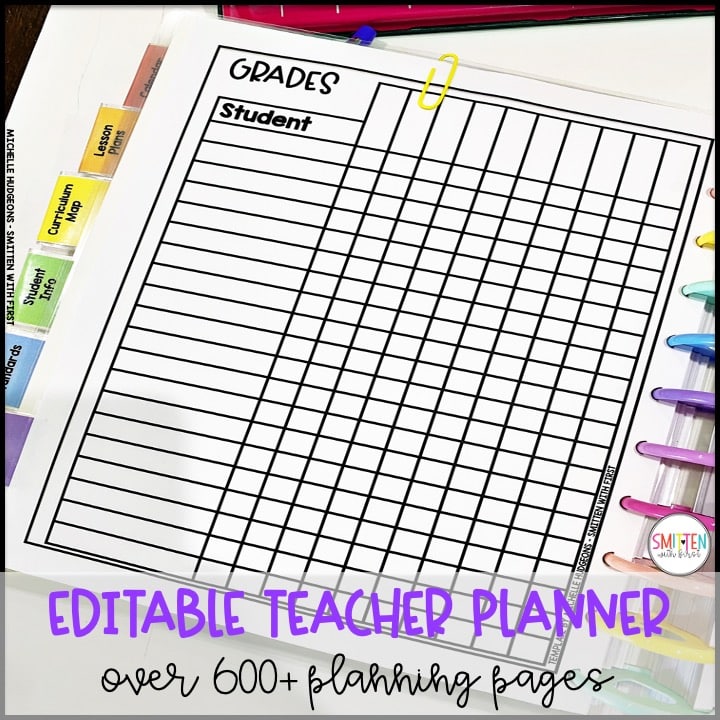
This is also great to send home with families at Meet the Teacher!
Another form with multiple uses that could be used in your binder, copy & laminate and put by your door, and send home with families on Meet the Teacher!
You can download the download the FREE First Day Lesson Plans & Templates HERE!
Grab the Editable Teacher Planner HERE!
Watch this Editable Teacher Planner video!
Pin this post to save for later!
