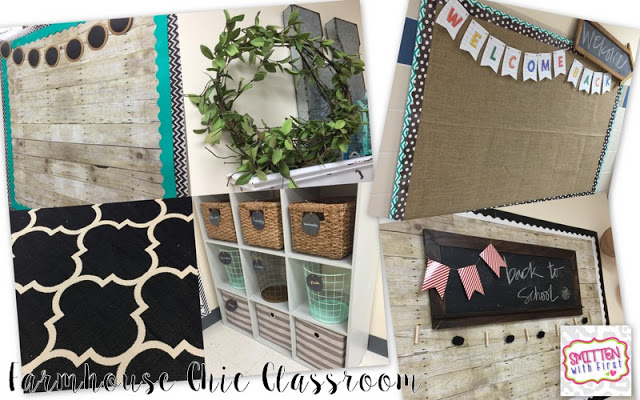
Raise your hand if you love the farmhouse style! In 2015 I decided to completely redo my classroom and change everything to the farmhouse style…but I had a tight budget! You can see a complete classroom tour here. Since then, I have had several messages asking how I painted these plastic bins. So, I am here today to share how to DIY Dollar Tree metal locker bins!
I purchased these plastic locker bins from Dollar Tree many years ago when I had a primary color-themed classroom. I have seen several different plastic versions of these – some from the Dollar Tree and some from other stores. Here are the ones that I used. (link below picture)
I reused the primary colored bins that I already had from previous years and then purchased more to get the amount of bins I needed. I bought Silver Krylon spray paint and spray painted all of them until they were silver on the inside and outside. Any brand of spray paint should work, but one that has primer already in it is going to be the best for plastic, especially if your bins are glossy. Below are 2 great ones that already have primer in them.
**Update** I recently found this Rust-oleum Universal Metallic Paint + Primer In One to use on my Instagram demo video and really liked it, too. A little went a long ways. I found it at Lowe’s for about $7 a can. Target, Home Depot and Wal-Mart have it, too.
1 can of spray paint should cover 2 bins (possibly even 3) depending on how many coats you’re applying. When spraying, let the first coat dry well before applying the 2nd; this helps prevent any running with the paint.
After spray painting them silver, I let them dry overnight and then sprayed them with a clear matte protecting finish. If you’re in a time crunch, you definitely don’t have to let them dry overnight…just let the silver dry well before applying the clear finish.
Again, any brand of paint should work, but make sure it is for plastic. The clear coat is going to help with durability against scratches and chipping and seal all that faux metal goodness in. I definitely recommend it.
I let them dry for several weeks before putting them in my classroom library. I wanted to make sure all the paint was good and dry before putting books in them.
I hope this helps you with fulfilling that farmhouse style classroom on a budget! These DIY metal locker bins worked great for me!
Also, a quick little tip: If your buckets crack or break, you can use silver duct tape to fix them. I had to do that on a few over the years and it worked fine. You could also spray paint over the duct tape to cover the tape.
Wanting to save this post for later? Pin this picture!
Hi, I'm Michelle Hudgeons! With over 15 years of experience in education, District Teacher of the Year, & Campus Teacher of the Year, I am here to help you create fun filled learning where every student is excited to learn!
In 2015 I shared all about my farmhouse inspired classroom. You can read that post here. Save What I absolutely love about a farmhouse classroom is that it is so warm,…
Last year I used this Welcome Back banner outside my classroom for Meet the Teacher and the first few weeks of school. Save Since then, I’ve had some ask if…
This year, our school is doing a camping theme. Our grade levels are divided into pods so each pod creates a different theme to go along with the overall school theme. The…
I cannot get over how cute this new groovy retro classroom decor! It is my absolute favorite for many reasons. Reason one, it’s primary colors (with a few pastels) so…
If you know me, being late is no surprise! Especially on my last week of vacation! It takes top priority!! Today, I am linking up…late… with Blog Hoppin’ to show…
Meet Michelle
With over 17 years of experience in education and honors such as District Teacher of the Year and Campus Teacher of the Year, I’m here to help you create a fun-filled learning environment where every student is excited to learn.